How to Put on Compression Socks: A Step-by-Step Guide
Compression socks can be a real game-changer for improving circulation and reducing swelling in your legs and feet. But let’s be honest, they can sometimes be a bit tricky to put on! This guide will walk you through the process, making it easier than ever to get the benefits of compression socks.
What are Compression Socks?
Compression socks are specially designed to gently squeeze your legs, helping your blood vessels circulate blood more efficiently. They come in various lengths and compression levels, and your doctor might recommend them for conditions like varicose veins, edema, or deep vein thrombosis.
Check out this helpful video for a visual demonstration of how to put on compression socks:
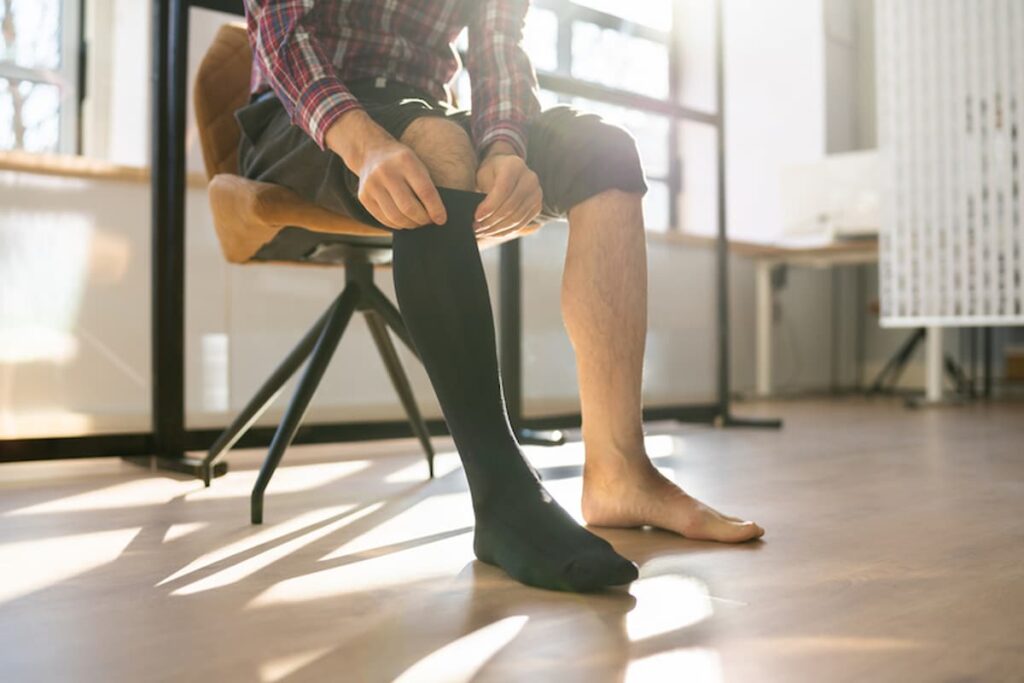
Here’s a breakdown of the steps:
- Timing is key: Put your compression socks on first thing in the morning, either while you’re lying down or sitting.
- Protect your socks: Remove any jewelry that could snag or damage the fabric. It may be helpful to wear gloves.
- Place your hand inside the sock, palm up, until your fingers reach the heel. Then, grasp the heel and turn the sock inside out.
- Put your thumbs inside the sock. Gently pull the sock onto your foot, up to the heel.
- Grab the end of the sock and pull it over your ankle. Make sure the heel part of the sock is correctly positioned.
- Slow and steady: Use the pads of your thumbs to gradually pull the sock up your leg, using slow, stretching movements. The top edge of the sock should sit about 2 cm (about an inch) below your knee.
- Gently smooth any wrinkles or bunching in the sock.
Putting on compression socks might take a little practice, but with these tips and the help of the video, you’ll be a pro in no time! Remember to be gentle and take your time, and you’ll be enjoying the benefits of improved circulation and reduced swelling.